Create Department
Create Department: This video contains how to Create Department in OPNBI.
There are two ways in which a user can create a department in the OPNBI application:-
1. By clicking on the create icon ![]() located at the bottom most toolbar.
located at the bottom most toolbar.
2. By right clicking any existing department and select Create Department as follows:-

Click on Create using one of the methods mentioned above which will open the following popup.
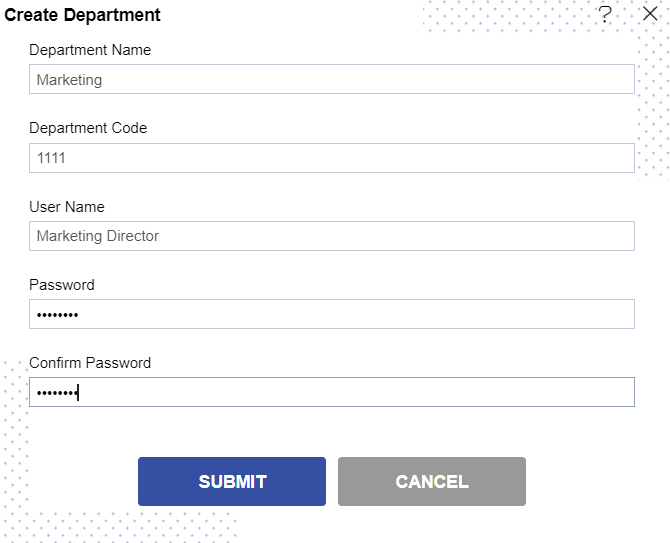
Enter the details as shown in the figure above:-
Let us understand what is the purpose of each field:-
2️⃣ Department Code :- The unique code which identifies a department.If the department code combined with username is used to login, user can login to a specific department(*required field).
3️⃣ User Name :- Name of Admin user which is entered along with department code during login to view a specific department (*required field).
4️⃣ Password :- Set a password & it is used while login to the application (*required field).
5️⃣ Confirm Password :- This is to confirm password, must match the password field(*required field).
In case of any further help, the user can click on the ![]() icon to access the OPNBI help documents.
icon to access the OPNBI help documents.
- Finally, click on
 button to create a new Department.
Login with the department credentials as follows to check details of Marketing department.
button to create a new Department.
Login with the department credentials as follows to check details of Marketing department.
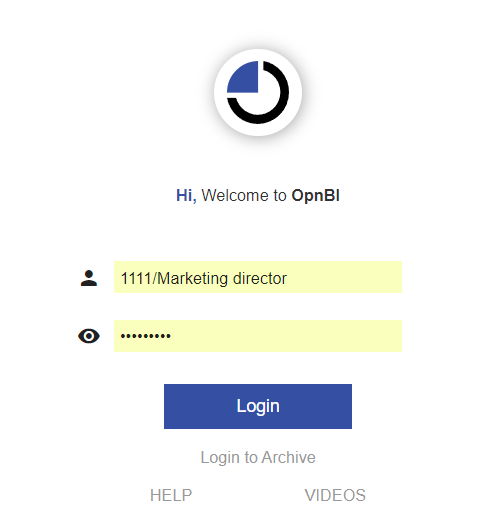
- After login, the user can access all the sections of OPNBI application under the Department Marketing.
To know more abour Department features follow below Links:-